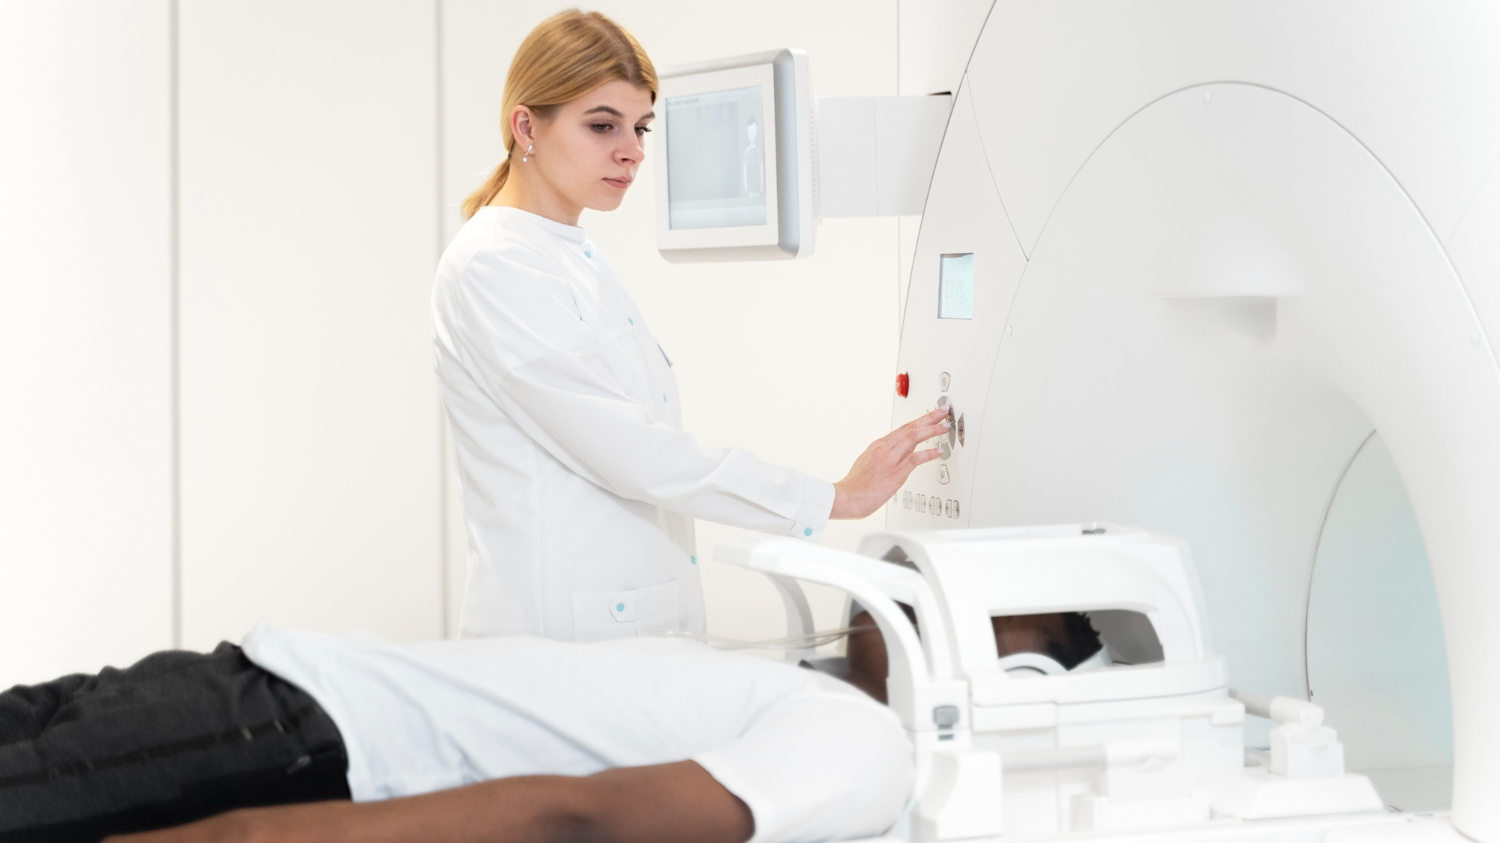
Many patients don’t completely understand what an MRI appointment entails. Lack of knowledge and misconceptions can cause anxiety and make their MRI appointments difficult. The MRI team can prepare patients before their appointments to help create a better, less stressful experience.
Although safety protocols and procedures vary between facilities, many follow the same guidelines. They are outlined in the American College of Radiology (ACR) 2026 MRI safety manual. Some exceptions to typical practice include unique patient needs and the optional use of ferromagnetic detection equipment. Although every patient is unique, most MRI appointments follow a similar process designed to provide a safe and comfortable experience.
This article outlines a typical MRI appointment from check-in to check-out as a resource for MR personnel to help educate patients on the entire process.
DISCLAIMER
This article is for general MRI education only. It does not replace official MRI safety training, facility standard operating procedures (SOPs), accreditation requirements, or clinical judgment. MRI procedures should always be performed according to the patient’s specific medical condition and the facility’s protocols.
MRI Appointment at a Glance
- Arrive and check in
- Complete the MRI screening form
- Change clothes and remove ferrous objects
- Receive an IV catheter (if required)
- Complete verbal screening with the MR technologist
- Undergo ferromagnetic detection screening (if available)
- Complete a final visual check by the MR technologist
- Be positioned on the MRI scan table
- Receive general anesthesia (if required)
- Move into the MRI scanner and begin the scan
- Receive contrast (if required)
- Images are reviewed; additional images are taken if needed
- Complete the scan
- Change clothes, collect personal belongings, and leave the facility
Checking In to the MRI Appointment

On the day of the patient’s MRI appointment, they will be asked to arrive 15 to 30 minutes early. This will give them enough time to prepare for their MRI and fill out important paperwork, including a screening form.
The screening form will either be a physical or digital document. The questions it asks will cover any implants, foreign metal objects, allergies, recent surgeries, pregnancies, and other medical considerations the patient may have. Any companion joining the patient in the MRI room for support also needs to fill out a screening form.
After filling out the form, the MR technologist will come get the patient for their exam. The MR technologist will asked the patient to change out of any street clothes that include metal and into provided scrubs or gown. Sometimes a patient may be allowed to wear their normal clothing if they are verified to be free of metal components. The patient’s companion will be asked to do the same if they are to accompany the patient in the scan room.
The patient and their companion will also be asked to remove all ferromagnetic items and any other personal belongings not permitted in Zones III and IV. This includes phones, hair clips, jewelry, pens, credit cards, hearing aids, and other items not allowed in the MR environment. At this time, if the patient needs to receive contrast or general anesthesia through IV, an IV catheter will be placed in their arm or hand.
MRI Safety Screening
Before going into Zone III, the MR technologist will verbally review the screening questions the patient completed earlier. This helps ensure the answers are accurate and complete, that important information has not been missed, and that the patient’s identity is confirmed. Any companion entering the MRI room will also complete a verbal screening.
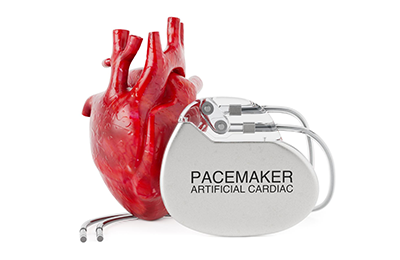
Medical implants or devices that the patient or companion may have will need to be reviewed by the MR technologist for the MRI safety label and specific scanning conditions. Patients should always tell the MRI team about implants or medical devices before the appointment so the team has enough time to verify the device and determine the appropriate scanning conditions.
Once the verbal screening has been completed, the MR technologist will do a final visual check for any ferrous or unauthorized items missed.
Some facilities use ferromagnetic detection systems (FMDS) for extra precautions during the final screening. These systems can be in the form of wands, a solo wall mount, or a surrounding doorway system. FMDS devices can only detect ferromagnetic objects. It is recommended to do visual inspections and not completely rely on what these detectors find.
The MRI Exam
After the final check is completed, the MR technologist will take the patient into the MRI room for your exam.
The MR technologist will help the patient get into position on the MRI scan table. Depending on the scan, the patient may be scanned head first or feet first. Because of the loud knocking, humming, and tapping noises the MRI machine makes, patients will be provided with hearing protection. This can include earplugs, earmuffs, or MR Conditional audio headsets to reduce the noise while still being able to hear the MR technologist.
Positioning aids will be used to help patients lie comfortably in one position. Facilities may provide blankets to help patients stay warm during their exams. Patients will be given a call button or squeeze ball to be used in case they need to tell the MR technologist to stop the procedure or to communicate with them.
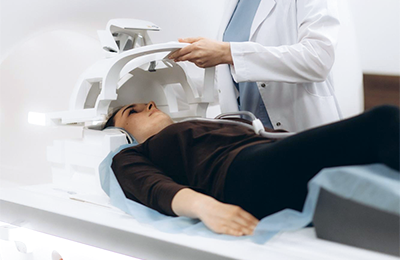
Depending on the body part being examined, the MR technologist will position a specific coil over it. These coils are used to help the MRI take clearer images. MRI coils can look like a boot for the foot, a helmet for the head, or a blanket for the chest.
Additional padding may also be used to help stabilize the body part being imaged and prevent direct contact with the coil or bore, as well as skin-to-skin contact. Without proper padding and positioning, patients could potentially receive RF burns.
Once the patient is settled in, the MR technologist will slowly move the scan table into the bore. The MR technologist will then move into the control room to begin the scan. They will monitor the patient throughout the exam using the MRI intercom, bore cameras, and the control room observation window. The MR technologist will give verbal instructions to the patient to hold their breath and remain still. This helps make the images as high-quality as possible. The length of the exam will vary between protocols and the body part being imaged.
Contrast and Anesthesia During an MRI
Depending on the imaging protocol, contrast may be administered before or during the MRI examination. When contrast is given during the scan, the MR technologist may administer it partway through to compare images obtained before and after injection. For general anesthesia through IV, an anesthesiologist and accompanying nurse will be present to administer the medication before the exam. They will monitor the patient the entire time.
After the MRI Exam

Before the exam is finished, the MR technologist will briefly review the images for quality. Occasionally, the MR technologist may take additional images if there was movement during the scan or if another view is required.
Once the scan is completed, the MR technologist will come back into the room and help the patient off the scan table. The patient will then be able to change back into their everyday clothes, collect their personal belongings, and leave the facility. They will not need to do anything special to be checked-out.
A radiologist needs to review the results and send a report to the patient’s doctor, so the results of the scan will not be released right away.
When using contrast, patients may be asked to stay and be monitored for any allergic reactions. Sometimes patients who had contrast may be allowed to leave after a short time. Others may need to stay longer.
For anesthesia, patients will still be asleep after the exam is finished. They’ll be transferred into a recovery room where they will be monitored as they wake up. Patients may need to stay for an hour or longer as they recover. Someone 18 years or older will need to drive the patient home from the appointment.
The MRI facility performing the scan will provide facility-specific information beyond what is covered here. Most MRI appointments follow the same general screening and scanning process. Helping patients understand what to expect during a typical MRI appointment can help reduce anxiety and make the experience more comfortable. If patients have questions before their appointment, they should talk with their MRI team. They can explain your facility’s procedures and help prepare patients for a safe and comfortable MRI experience.
Frequently Asked Questions
Any form of sedation, including oral, intravenous, or inhaled (gas) medication, can potentially impair someone’s breathing or cardiovascular function, or lead to an allergic reaction. Depending on the type of sedation and the facility’s policies, the patient may be monitored by an anesthesiologist, a certified registered nurse anesthetist (CRNA), a registered nurse, or another qualified healthcare professional.
Facilities typically only allow one screened companion in the MRI room with patients. These situations are generally reserved for patients that need extra support, such as pediatric patients or individuals with severe claustrophobia or anxiety.
The most common type of contrast used for MRI exams is gadolinium-based contrast agents. This contrast does not include iodine, which makes it less likely to produce an allergic reaction. The use of gadolinium-based contrast should be discussed with the primary doctor and MRI team in association with kidney disease or pregnancy.
MRI Products for Patient Comfort and Safety
Providing patients with a safe and comfortable MRI experience starts with the right equipment. MRIequip offers MRI transport equipment, positioning aids, patient comfort products, patient monitoring systems, procedure tools, and many other products that help MR personnel provide safe, efficient, and comfortable patient care.
Download our handout flyer on general MRI appointments to help prepare patients for their appointments.