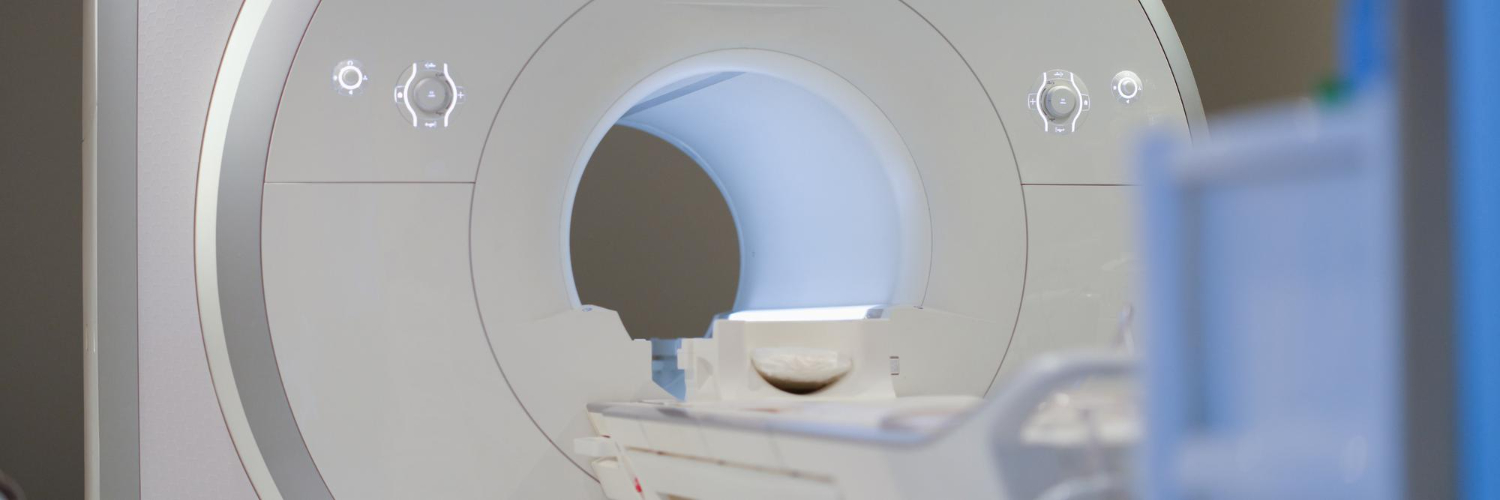
Strict control throughout the MRI facility is essential in protecting people and equipment. The layout of the MRI facility is designed to help prevent unauthorized or unscreened individuals and non-approved ferromagnetic items from entering the magnet room. This is commonly done by dividing the MRI facility into 4 safety zones. Each zone plays a part in the safety and workflow of the facility.
In a previous post on MRI safety guidelines for hospitals, we highlighted the regulations and safety equipment related to each of the four zones. This post will go deeper into what these zones entail.
Read our previous post on MRI Safety Guidelines for Hospitals.
DISCLAIMER
This article is for general MRI education only. It does not replace official MRI safety training, facility standard operating procedures (SOPs), accreditation requirements, or clinical judgment. MRI procedures should always be performed according to the patient’s specific medical condition and the facility’s protocols.
Why MRI Safety Zones Exist
The American College of Radiology (ACR) in their 2026 MR Safety Manual Update divides the MRI facility into 4 safety zones. MRI facilities may look different based on the MRI system, magnetic fringe field, and facility layout, but most American MRI facilities follow the 4 safety zone recommendations. The MRI facility should have signage indicating the location of each zone along with MRI safety reminder signs throughout each MRI safety zone.

Each zone is established for ease of workflow and safety in relation to the MRI’s ever-present magnetic field. Individuals are only allowed further into the MRI facility after proper screened and cleared by a Level 2 MR personnel member. Ferromagnetic equipment and items are kept out of the magnet room to prevent projectile accidents from occurring.
Designing MRI facilities around the 4 safety zones also supports plans for emergencies surrounding the MRI machine. During emergency medical responses, designated areas and MR Conditional emergency equipment help facilities respond while maintaining MRI safety restrictions. Controlled access can prevent unintentional accidents from non-MR emergency responders when the proper MRI safety protocols are followed.
In addition to the four classic MRI safety zones, some facilities also have a Cryogen Venting Zone. This is a separate, restricted area associated with quench venting of cryogenic gas. Because many MRI scanners use cryogens to maintain a superconducting magnet, this emergency venting area has its own hazards and may require restricted access, warning signage, and careful vent design.
MRI Zones at a Glance

Zone 1
Zone I is the area farthest away from the magnet room. It is commonly located in the general hospital area outside the MRI facility that the public can access. This zone is for public access to the MRI facility, with signage typically marking it as Zone I.
Zone II
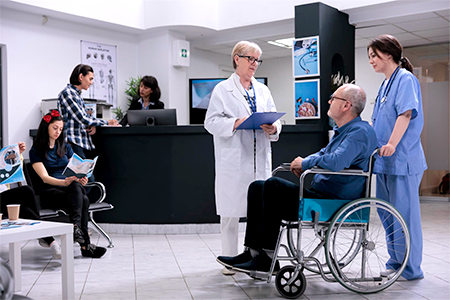
From Zone I, patients and visitors typically enter Zone II for preparation and screening under MR personnel guidance. The MRI reception area, waiting room, changing rooms, and screening areas are common in this zone. Patients typically complete a written MRI screening form and a verbal screening before entering Zone III. MRI screening is used to identify implants, retained ferromagnetic items, and other conditions that may require review before entry into Zone III or Zone IV.
Before entering the more restricted MRI areas, patients, visitors, and MR personnel should remove external ferromagnetic or otherwise non-approved items from their person and secure them in a designated area. Ferromagnetic detection screening is also done in this Zone depending on whether the MRI facility uses ferromagnetic detection systems.
Zone III
Zone III contains the MR Controlled Access Area, the restricted area monitored by Level 2 MR personnel that protects the MRI room. Screened individuals, approved MR Conditional and MR Safe items, and authorized personnel are only allowed in this area. Zone III is restricted not only because it controls access to the magnet room, but also because magnetic fringe fields extending outside Zone IV. This may pose hazards to some implants, devices, and equipment if access is not properly controlled.

Zone III often includes the MRI control room. The zone may also include adjacent restricted spaces such as equipment rooms, post-screened waiting areas, recovery areas, or storage areas for MR Conditional equipment, depending on the layout of the facility. Additional ferromagnetic detection systems may be placed near the entrance to the MRI room as an added layer of screening before entry into Zone IV. The entrance to Zone III should be clearly marked as restricted access.
Due to the 3D-nature of the MRI’s fringe magnetic field, Zone III could potentially extend into the floors above and below the MRI facilities, and outside the building. These areas could include adjacent rooms, hallways, and neighboring departments. These possible fringe-field extensions should be considered during MRI suite planning and installation.
Areas outside the scanner room may still contain magnetic field strengths high enough to affect some implants, devices, or electronic equipment if access is not properly controlled.
Zone IV
The most highly controlled part of the MRI facility is Zone IV, the MRI room containing the scanner magnet itself. There should be a prominent “magnet is always on” sign situated above the doorway to Zone IV. Individuals and items can only enter here through Zone III, with access controlled and monitored by Level 2 MR personnel.
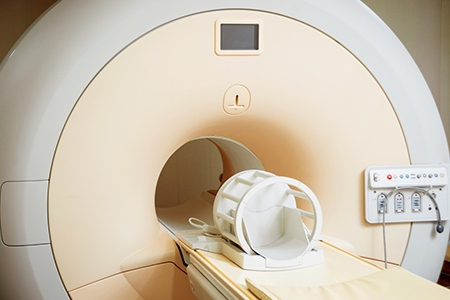
The static magnetic field is always present, which means restrictions should be in place all the time. Only appropriately screened individuals and MR Conditional or MR Safe items should enter Zone IV under the facility’s MRI safety policies. Zone IV should remain closed and access restricted except when Level 2 MR personnel move screened patients and approved equipment in or out, or when maintenance activities are being performed.
Zone IV includes the MR Projectile Area, which is the area closely surrounding the MRI magnet where ferromagnetic objects can potentially become dangerous projectiles. Some facilities may mark these areas on the floor or use some form of visual controls to position equipment safely. The various gauss lines surrounding the machine may also be marked. However, any non-approved items should be kept out of Zone IV in general for extra precautions.
MRI Safety Zones vs. Gauss Lines
MRI safety zones refer to the controlled access layout of the MRI facility. Gauss lines refer to magnetic field strength boundaries around the MRI system. Gauss lines can extend past the rooms of the MRI safety zones. The closer to the MRI machine, the higher the gauss measurement. The 5-gauss line and 9-gauss line are typically marked, along with the 100-gauss and 200-gauss lines.
When an MRI facility is being designed, knowing the gauss lines of the model of MRI machine is important. Historically, the 5-gauss line was widely treated as a key safety threshold for patients with cardiac pacemakers. More recent standards and device testing have led some pacemaker models to be evaluated at up to 9 gauss. Implant safety should always be confirmed using current device labeling, manufacturer guidance, and facility policy.
The location of the 9-gauss line varies depending on the MRI system and room layout. Depending on facility layout, the line may extend outside of Zone IV into adjacent Zone III spaces. For this reason, MRI zone design should be based on both workflow and access control as well as the measured fringe field.
Cryogen Venting Zone
Although not included in the main 4 safety zones, the Cryogen Venting Zone is an important area to consider. The Cryogen Venting Zone is an unoccupied area either on the roof or side wall of the building where high amounts of cryogen gas is rapidly vented during a quench. Some MRI facilities don’t need these. Some MRIs either use very small volumes of cryogen gases or use permanent magnets that don’t use cryogens.
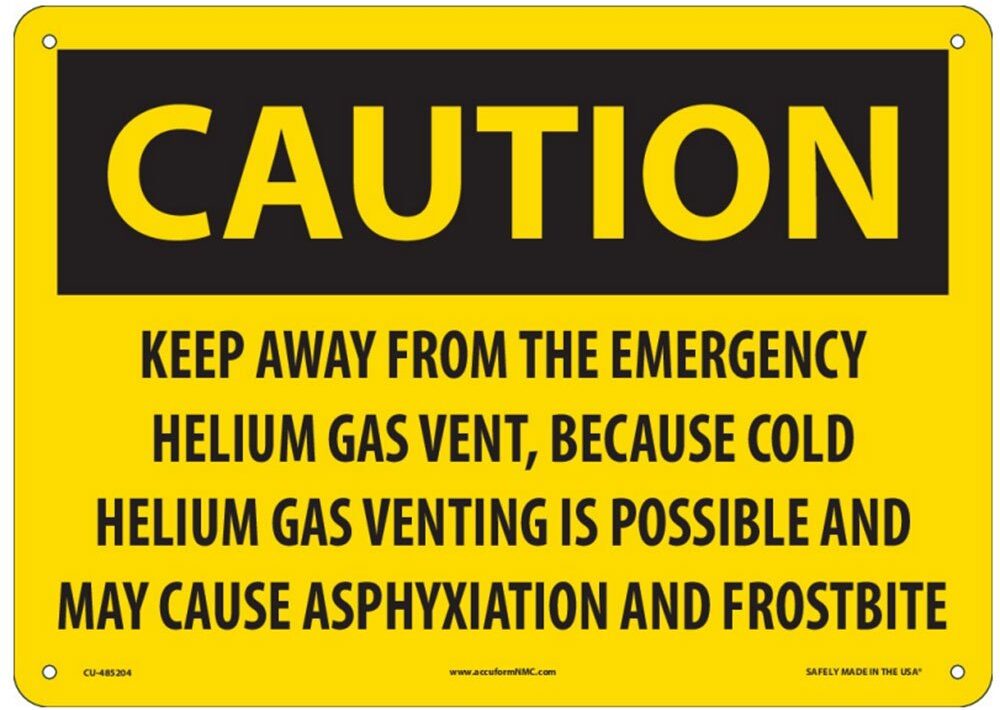
The purpose of the Cryogen Venting Zone is to keep people away from the external vent discharge area during a quench. Because cryogen release can create cold injury and oxygen-displacement hazards, proper vent design and maintenance are important for safe emergency venting.
The Cryogen Venting Zone should include physical barriers or restricted access measures, along with warning signs identifying the emergency cryogen vent discharge area. The cryogen vents are also designed in a way that does not let debris and animals interfere with them.
Frequently Asked Questions
Patients, visitors, and MR personnel should remove ferromagnetic or otherwise non-approved items before entering Zone III or Zone IV. Common examples include hearing aids, cell phones, jewelry, credit cards, hair clips, keys, watches, coins, and pens. Depending on facility protocol, patients may also need to change into pocket-less clothing or a gown to avoid hidden metal.
Separate changing rooms and screening areas help protect patient privacy and keep MRI screening organized before patients enter Zone III or Zone IV. Patients may need to change clothes, remove personal belongings, and discuss implants or medical conditions before moving into the restricted MRI zones.
Common MRI safety equipment includes signage, ferromagnetic detection systems, screening forms, lockers, safety barriers, and MR Conditional transport equipment. In restricted areas, facilities may also use MR Conditional wheelchairs, stretchers, IV poles, oxygen equipment, and other approved accessories.
Shop MRI Safety Zone Products
MRI safety depends on all MRI safety zones working together through layered restrictions, screening, and proper training. The additions of MRI safety signage, safety barriers, and MR Conditional and MR Safe products can help with workflow and safety.
MRIequip carries a wide variety of MRI safety signage, ferromagnetic detection systems, MRI transport equipment, and safety barriers for every safety zone of an MRI facility.